
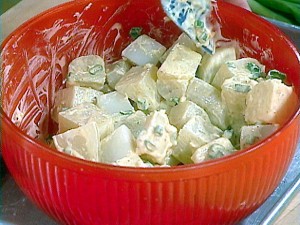
Almost Famous Potato Salad
This recipe is a southern potato salad recipe that I tweaked and it has been a total hit! The secret is the sour cream. Making the potato salad with more sour cream than mayo makes it nice a light. You’re sure to get lots of questions on how come it tastes so light...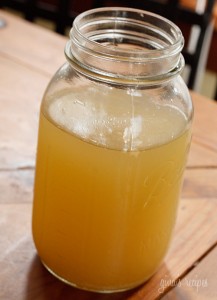
Homemade Chicken Stock
Homemade chicken stock is super easy to make and totally delicious. The best part is that you can control the ingredients so you can make it organic or natural and you can control the salt. I love to make my own chicken stock to use in homemade soup, to cook with in...Potato, Zucchini, and Carrot ‘Nests’ with Eggs
After several requests I am finally getting around to posting this recipe for you all. We had these last night with my mom and dad and they were a hit! I forgot to capture a picture because we gobbled them up so fast, so I will try to get one next time and add it to...
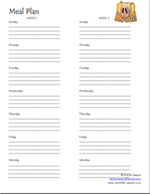
Menu Plan Monday 6.21.10
We’re headed for a relaxing family vacation beginning Saturday. I am looking forward to it – but no worries for you readers, new posts will be ‘a plenty. =) :: Monday Grilled Chicken Grilled Squash & Zucchini Baked Potatoes Bread :: Tuesday Crispy Fish French...
Menu Plan Monday 6.1.10
Okay, okay. So, it isn’t Monday! LOL. With the holiday weekend I’m a day behind. But, here’s what is going on this week at the Sawyer household. This week is a little different than most in that I am going out of town for a few days and leaving the fam to their own...Click the Image for a Printable Meal Plan