
What is Kratom? Is Kratom Safe? Its Uses and Benefits
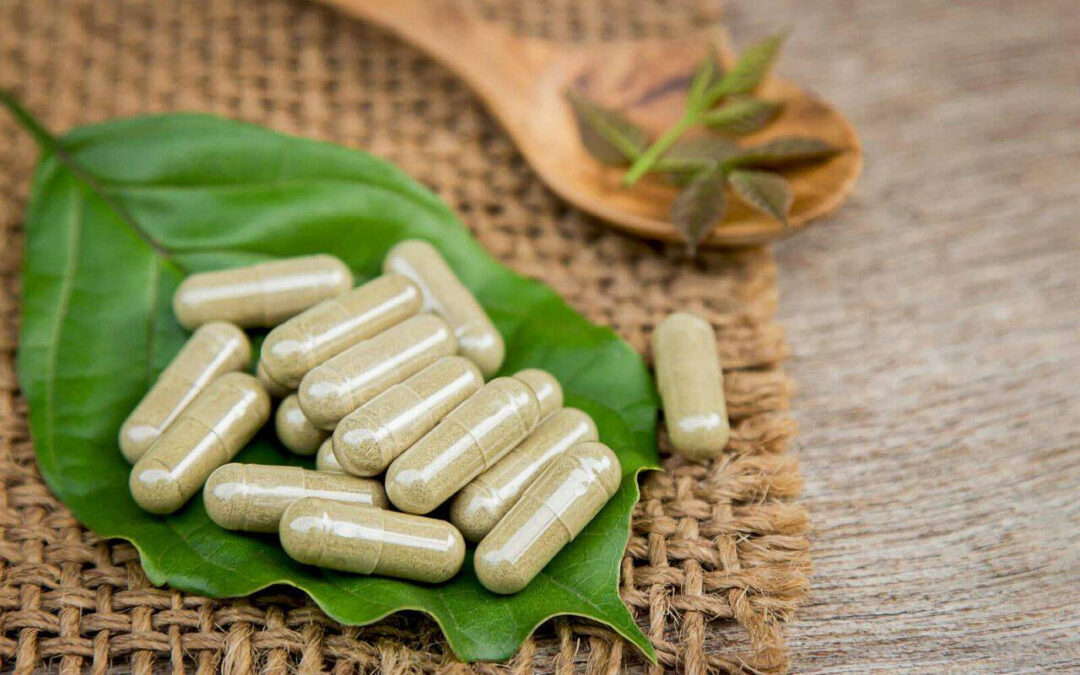
What is Kratom? Is Kratom safe? Before answering this question, we are going to see what Kratom is. Kratom (Crazy Mitragyna speciose) belongs to the genus Mitragyna and belongs to the Mariposa (Opuntia) genus in the family Fabaceae. It’s a tree that grows in the area...
What is Train Wreck Kratom?
Kratom items were first acquainted with the United States in the last part of the 1990s. The homegrown enhancement, in the long run, acquired remarkable prominence around 2016. To bring up the self-evident: this was just five years prior. What sort of issues, you...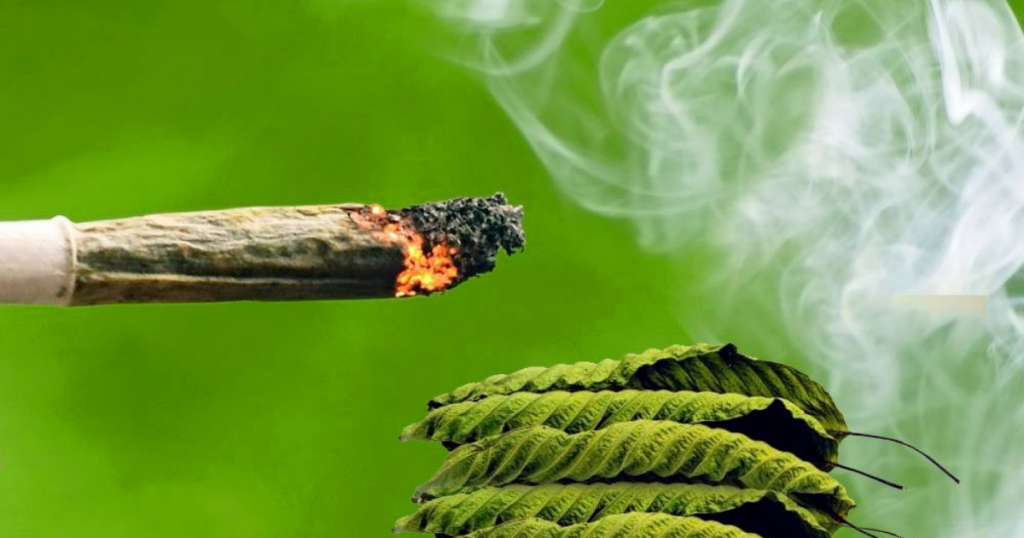
Is It Possible to Smoke Kratom?
Kratom is the most popular herbal product known globally for its amazing properties. It originates from Southeast Asia and has been serving the local people for hundreds of years. In the last 10 years, this herb has become more popular in the US; therefore, the demand...
Kratom liquid Extracts Vs Kratom Powder Extracts
Inevitably, Kratom has gained popularity only as a result of its healing properties. It would be wrong to say that Kratom has been acknowledged by the world in this century because it has been a traditional herb for a long time. It is certain because in the old times,...
Which Strains Can Help You Boost Your Energy?
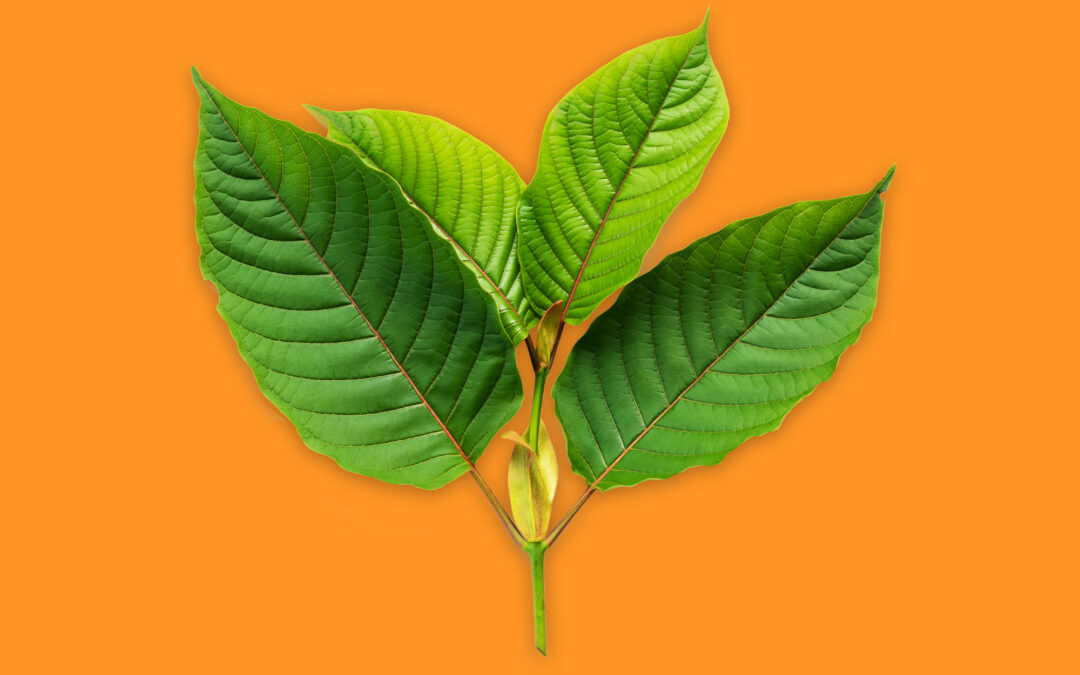
Kratom is a plant native to Southeast Asia containing psychoactive components and is scientifically known as Mitragyna Speciosa. It has been used for hundreds of years across the globe by a large community of people due to its amazing medicinal properties and boosting...
Kratom And Coffee: Recipe For A Perfect Morning
You’re in luck if you’re reading this article, because you just stumbled upon the perfect Kratom and Coffee recipe which will make your mornings perfect and bring you good vibes throughout the entire day. This recipe is extremely simple, all you need is a...
How To Use Kratom: A Full Guide
In a previous article on Wholesome Mommy I described how to make fantastic Kratom tea, literally this tea will have you smiling from ear to ear and will push away any depression or anxiety. That being said, there are many other methods for taking Kratom, and below I...My Frugal Little Splurge – Keurig K Cups
We have a Keurig coffee maker. There it is out. My dirty little secret. I recieved it as a product to review a while back. At first look I thought it was a cute little machine but didn’t really understand how it could be cost efficient or something I would really...
Summers Are For Movie Nights – CLOSED
Congratulations to the winners! Margaret, Summer White, Albert Acosta, Amy C., Tisa Agloro, Rebecca Larson, and Barbara! When things heat up outside and little ones are home for the summer there are so many fun things to do. Some of our favorites are swimming at my...Click the Image for a Printable Meal Plan