
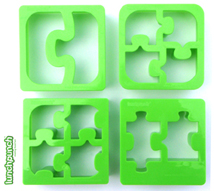
A Back to School Must-Have: Lunch Punch – Give away CLOSED
Congratulations to Colleen Thompson for winning this give away! I love kitchen gadgets. I do, however, refrain from purchasing those large kitchen appliances that take up counter space that only have one use . But, small gadgets… that is a different story! I love...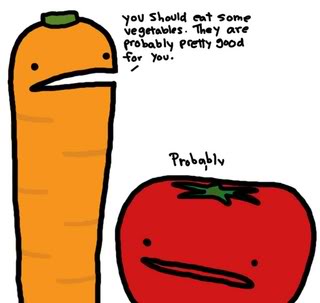
Turn Your Kids into Veggie Lovers!
I hear a lot of my girlfriends talking about how their children won’t eat vegetables. Since this seems to be an epidemic and I’ve given this advice to numerous friends lately, I thought I would share some of my suggestions here! If you’ve got a couple of veggie...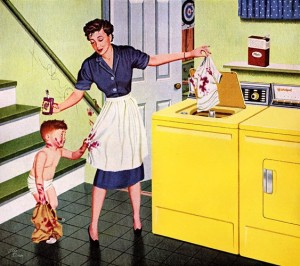
Washing Your Cloth Diapers
Once I ordered my diapers and they arrived, the next hurdle was determining how to launder them. It really isn’t as scary as it sounds! There are a hundred different ways to do it and everyone has to decide what works for them. But, here is what I do. I have a...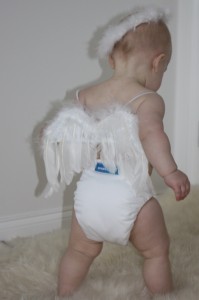
Choosing Cloth Diapers
Before my baby was born I looked into using cloth diapers. They are both good for the environment and for baby’s behind, as well as WAY cheaper than disposable diapers. After making my mind up I realized I had forgotten to run it by my husband! Oops! So, one day I...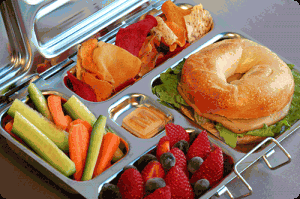
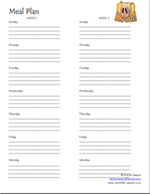
Packing a Waste Free Lunch
With school starting here in just another couple weeks I’ve been thinking about getting back into the habit of packing lunches. I’ve made a commitment to feed my family well, including doing the research to determine what foods are the best and the safest for my...Click the Image for a Printable Meal Plan