
Throw a Party that Looks Like a Million… at a Fraction of the Cost!
It doesn’t take a million-dollar budget to party like a rock star. I love to throw parties but my budget is limited. You can get a fabulous look with a tight budget… it is all about the planning. You have two options when it comes to party planning if you want it to...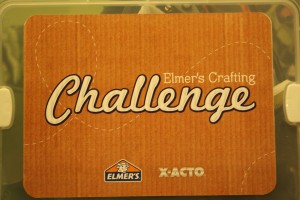
Crafty Napkin Rings for Fall Get Togethers
Congratulations to Nicole, Leigh Anne Cheryl F., & Saralyn for winning this give away! Calling all crafty mamas! I have a cool craft that you can do and even get the kids involved! This craft is so simple and the end result is something useful you can use the...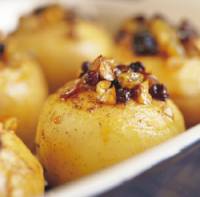
Apples…Now Its Fall
It’s apple season! I know I’ve mentioned that my family makes an annual visit to Elijay, Georgia each year for the apple festival and many of you had lots of questions about it. Well, I thought I would share a little information about Elijay’s apple festival here...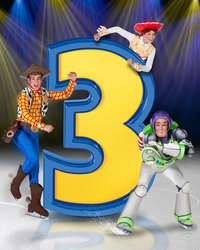
Disney on Ice Toy Story 3… Coming to Atlanta
Disney on Ice has a brand new show and it is coming to Atlanta!! Thanks to some friends we are going and it will be our first-ever Disney on Ice show. We are very excited and can’t wait to share this special memory with Judah. I love doing things like this with...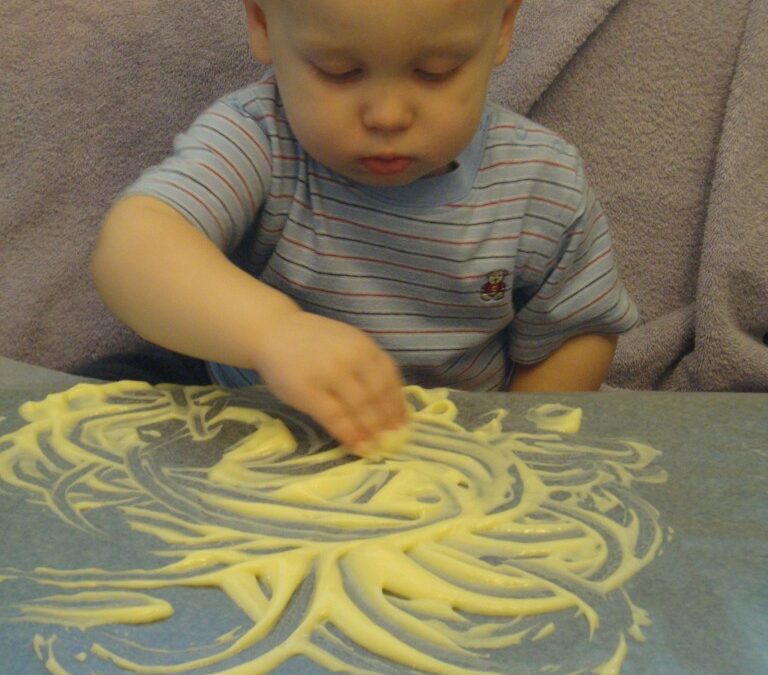
Edible Art – Fun for Young Ones
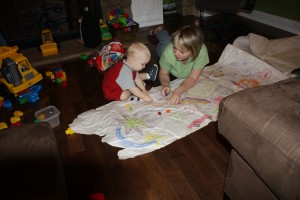
As a teacher, my brain is full of great activities for the school-aged child, but when it comes to thinking of things to entertain my toddler, I’m often at a loss. I recently remembered a fun activity that we do with our kindergarteners that is just as appropriate...Click the Image for a Printable Meal Plan