Lemon Poppy Seed Cake
This cake is so good. I love lemon poppy seed muffins so when I saw this recipe for lemon poppy seed cake I had to make it! We ate it for breakfast but it would also be a lovely ending to a meal. Besides being delicious it is also a wonderful cake to give as a...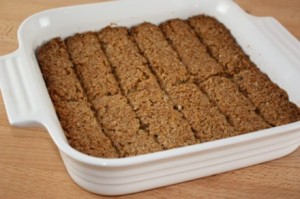
Banana Almond Butter Breakfast Bars
Many of you requested this recipe so I tried to supply it as quickly as possible! I found this recipe online and tweaked it so I could use ingredients on hand. The final result is a cross between a chewy granola bar and one of those “Oatmeal to Go” breakfast...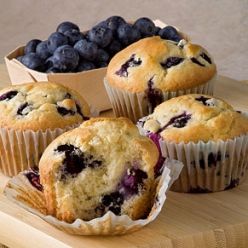
Blue Ribbon Blueberry Muffins
You will NEVER eat a better blue berry muffin than this! These muffins are so big and delicious and nearly fool proof! I made them with the help of my 18 month old son! He stood on the step ladder and poured in all the ingredients and of course had a taste of the...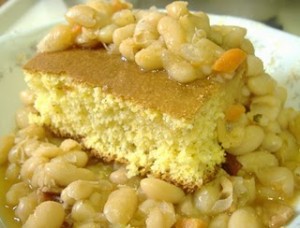
Beyond Beans & Cornbread
I have been preaching at you a lot about using everything you’ve got. Well, that is what this post is all about. I’ve had a couple people ask me how I cook beans. But, that would be a boring post, so I want to also share with you what I do with all those beans and...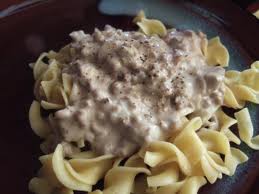
Beef Stroganoff
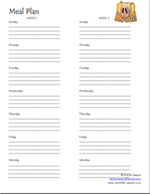
On weeknights when I have to work late and get dinner to the table fast I used to rely on hamburger helper. It was quick, easy, and usually a family pleaser. If you need a quick meal, that everyone loves, and you can keep on hand anytime, AND cook it from scratch in...Click the Image for a Printable Meal Plan