Fig Tart
Last week I picked a small batch of figs from a friends tree and to be honest I had never even tasted a fresh fig before! They are nothing like I expected. They are sweet and almost candy like so I couldn’t wait to figure out a way to make them into something...Lemon Poppy Seed Cake
This cake is so good. I love lemon poppy seed muffins so when I saw this recipe for lemon poppy seed cake I had to make it! We ate it for breakfast but it would also be a lovely ending to a meal. Besides being delicious it is also a wonderful cake to give as a...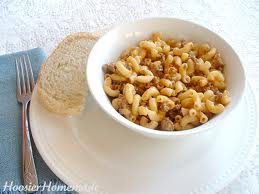
Meal Solution #1: Homemade Hamburger Helper & Molten Chocolate Cakes
So Walmart is trying this new thing where they are offering moms (and dads) meal solutions. You know, for those of us who are busy and forgot to write a meal plan! Or, those of us who are pooped and don’t want to make what we planned! So, this week here’s what...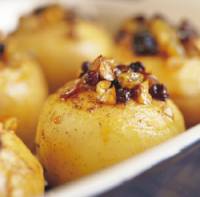
Apples…Now Its Fall
It’s apple season! I know I’ve mentioned that my family makes an annual visit to Elijay, Georgia each year for the apple festival and many of you had lots of questions about it. Well, I thought I would share a little information about Elijay’s apple festival here...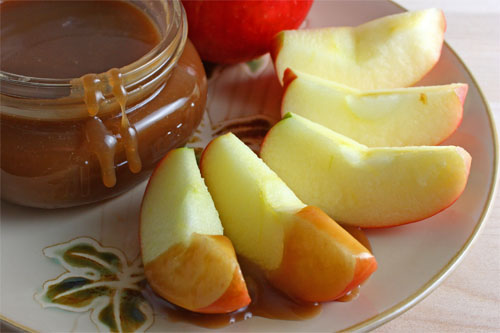
Homemade Caramel Sauce
Apples are in season and I’ve been searching for new ways to enjoy them. But, no matter where I look, my homemade caramel sauce is still my favorite (although there are a few other tasty ways I’ve found that I’ll share soon!). Warm caramel is a tasty treat with...Click the Image for a Printable Meal Plan